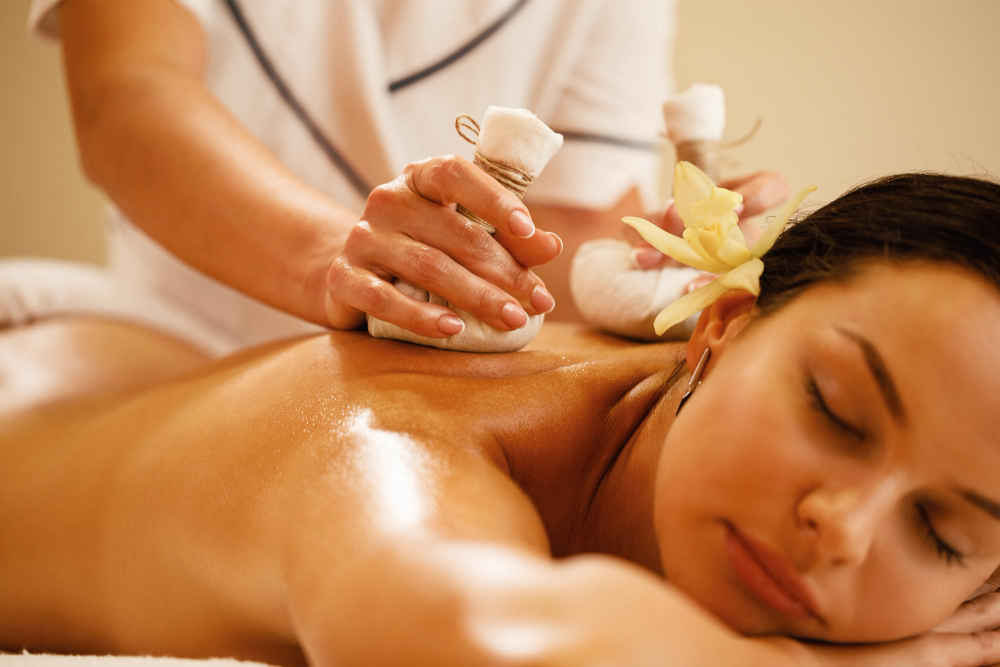
In today’s fast-paced world, where stress and screen time dominate daily routines, taking a moment to connect with your body is not just therapeutic—it’s essential. One ancient, effective way to do this is through self-massage, a deeply healing and rejuvenating practice rooted in Ayurveda. Known as Abhyanga, this self-care ritual nurtures the mind, body, and spirit through the simple yet profound art of touch.
Let’s explore a detailed guide to performing an Ayurvedic Self Massage at home—complete with practical tips, clear steps, and mindful benefits.
Why Choose Ayurvedic Self-Massage?
To begin with, self-massage is not merely a luxurious indulgence—it’s a cornerstone of Ayurvedic daily routines. Regular practice boosts circulation, reduces stress, nourishes the skin, and even promotes better sleep. But beyond physical benefits, it enhances emotional balance and overall vitality.
Moreover, the benefits of this practice become more pronounced over time:
-
It improves lymphatic drainage and detoxification.
-
It helps calm the nervous system and reduce anxiety.
-
It supports joint flexibility and mobility.
-
It energizes the body when done in the morning, and induces deep relaxation when done at night.
What You’ll Need Before You Start
Before diving into the process, it’s important to gather the essentials. To maximize the healing benefits, select high-quality, warm oils specific to your dosha (Ayurvedic body type).
Gather the following:
-
A bottle of warm Ayurvedic medicinal oil suited to your constitution.
-
A soft towel or mat.
-
Warm water for washing up after the massage.
-
A quiet space where you can relax without interruptions.
Once you’re ready, find a calm corner of your home, dim the lights, and create a serene environment. A few deep breaths can help set the tone for the experience.
Step-by-Step Guide to Ayurvedic Self-Massage
Let’s now walk through the process of an Ayurvedic self-massage step by step. Though the technique is simple, it’s most effective when done with mindfulness and intention.
1. Warm the Oil
Firstly, pour a small amount of oil into a container and place it in warm water for a few minutes. The warmth enhances absorption and makes the experience more soothing.
2. Start at the Scalp
Next, begin your self-massage at the crown of your head. Using your fingertips, apply circular strokes with gentle pressure. Massaging the scalp stimulates nerve endings and awakens the senses.
Tip: If you have time, leave the oil on your scalp for at least 20 minutes for deep nourishment.
3. Face and Neck
Then, move to your forehead, cheeks, jaw, and neck. Use upward and outward strokes, especially around the jawline and temples. The facial massage not only improves skin tone but also relieves tension held in facial muscles.
4. Shoulders, Arms, and Hands
Continue by massaging your shoulders, working your way down the arms. Use long, flowing strokes along the bones and circular strokes on the joints. Hands carry a lot of stress, so give them some extra attention.
5. Chest and Abdomen
Now, gently massage your chest in outward strokes. For your abdomen, follow a clockwise motion—this aligns with the natural movement of your digestive system and encourages detoxification.
6. Back and Spine
Though slightly tricky, try reaching your upper and lower back. Use both hands if possible. Massaging the spine enhances energy flow and relieves stiffness.
7. Legs and Feet
Finally, move to your thighs, knees, calves, and feet. Long strokes should be used along the legs, and circular motions around the joints. Your feet, often neglected, hold reflex points for various organs—give them special care.
When and How Often to Practice
Ideally, self-massage should be done daily in the morning before a warm shower. However, even two to three times a week can bring noticeable benefits. If done at night, it helps in releasing the day’s stress and prepares you for deep sleep.
Consider the following tips for consistency:
-
Schedule it as part of your morning or evening ritual.
-
Pair it with calming music or aromatherapy.
-
Keep your oil and supplies in a dedicated space for easy access.
After the Massage
Once you’ve completed the self-massage, allow the oil to penetrate your skin for about 10–20 minutes. Use this time to rest, sip warm herbal tea, or practice deep breathing. Follow it with a warm shower using a gentle, natural cleanser.
You’ll feel lighter, more grounded, and connected with your body, ready to take on the day or unwind for restful sleep.
Customizing Your Massage According to Your Dosha
Not everyone benefits from the same oils or techniques. Ayurveda classifies individuals into three primary doshas—Vata, Pitta, and Kapha. Here’s a basic guide to selecting the right oil:
-
Vata (Air & Ether): Use warm, heavy oils like sesame or almond.
-
Pitta (Fire & Water): Cooling oils like coconut or sunflower are best.
-
Kapha (Water & Earth): Lighter oils such as mustard or safflower work well.
If you’re unsure of your dosha, consider consulting an Ayurvedic practitioner or using an online dosha quiz.
Final Thoughts: Embracing the Healing Power of Touch
To wrap things up, adopting a consistent self-massage routine is a gentle yet powerful way to reconnect with your body. Whether you’re easing sore muscles after a long day or simply practicing self-love, this ritual invites balance and wellness into your life.
By integrating this simple habit, you’re not just caring for your body—you’re honoring an ancient tradition that still holds immense relevance today. Especially when supported by authentic practices like Ayurvedic medicinal oil, this experience becomes a full-spectrum healing journey.
Moreover, if you’re seeking expert guidance or holistic therapies, many modern wellness hubs now offer authentic Ayurvedic treatment in Dubai, allowing you to deepen your journey with professional support right in your city.


